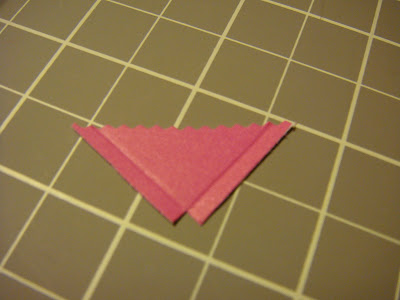
Cut your 1 1/2 x 1 1/2 inch square corner to corner making 4 triangles. (If you like, try experimenting with different size squares to get larger or smaller photo corners.)
Next use a scoring system, score the 2 sides of the photo corners. I used my Martha Stewart Scoreboard. I lined up the side of the photo corners with the next score line to make sure they were straight. I scored both of the straight sides of the photo corners.
You can choose to cut the little square at the corner OR
cut straight across.
Lastly, fold your photo corner at the score marks. I did NOT use a bone folder for this as I wanted them to stand up a bit to slide on my photo.
Here is how they turned out!
The top 2 corners are from yesterday's tutorial and the bottom 2 are from today's. I wanted to show you the difference.

I hope you have fun with these photo corners!
Thanks so much for stopping by and happy crafting!!!


Thanks Carolyn for these good instructions, I'm going to give it a try!
ReplyDeleteThis is a neat tutorial. I haven't quite figured out how to do a tutorial yet. I am not good with giving instructions:)
ReplyDeleteI have another award for you.
Julie
http://designs-by-julie.blogspot.com/